Cornerstone of Engineering 1 · Northeastern University · Fall 2025
FlashFling Soccer
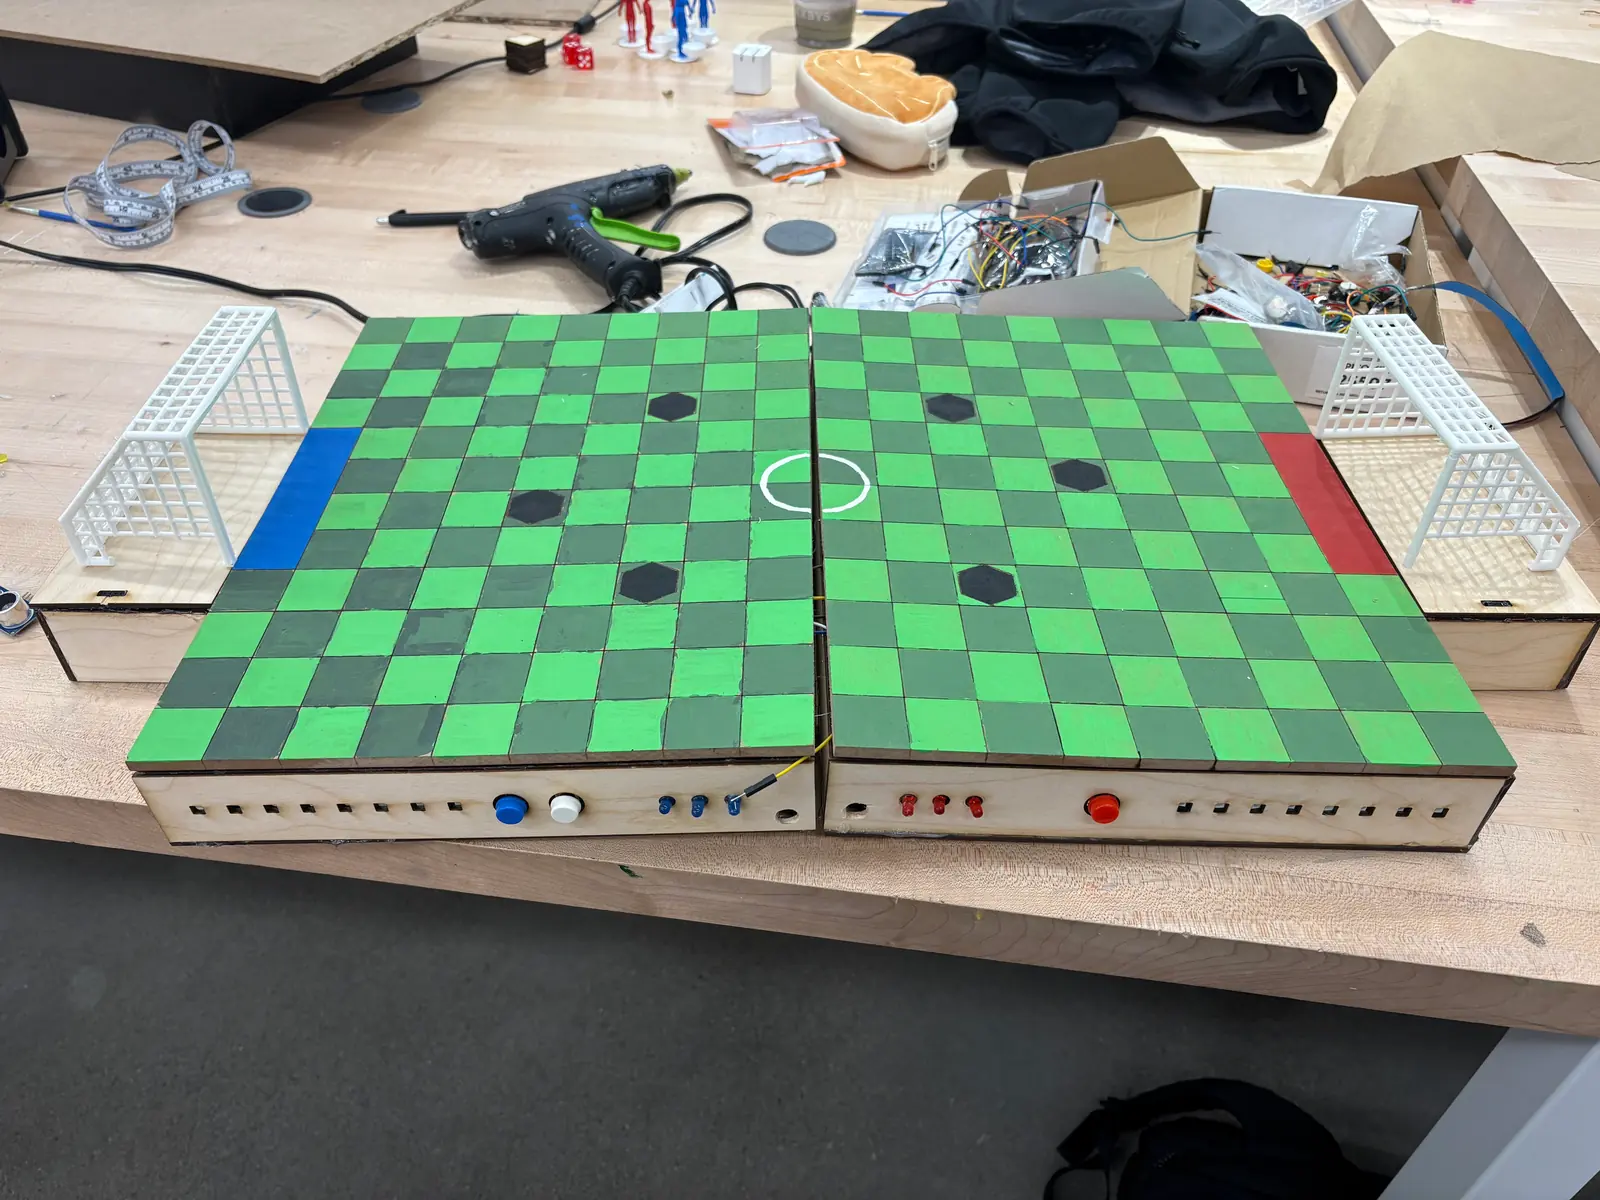
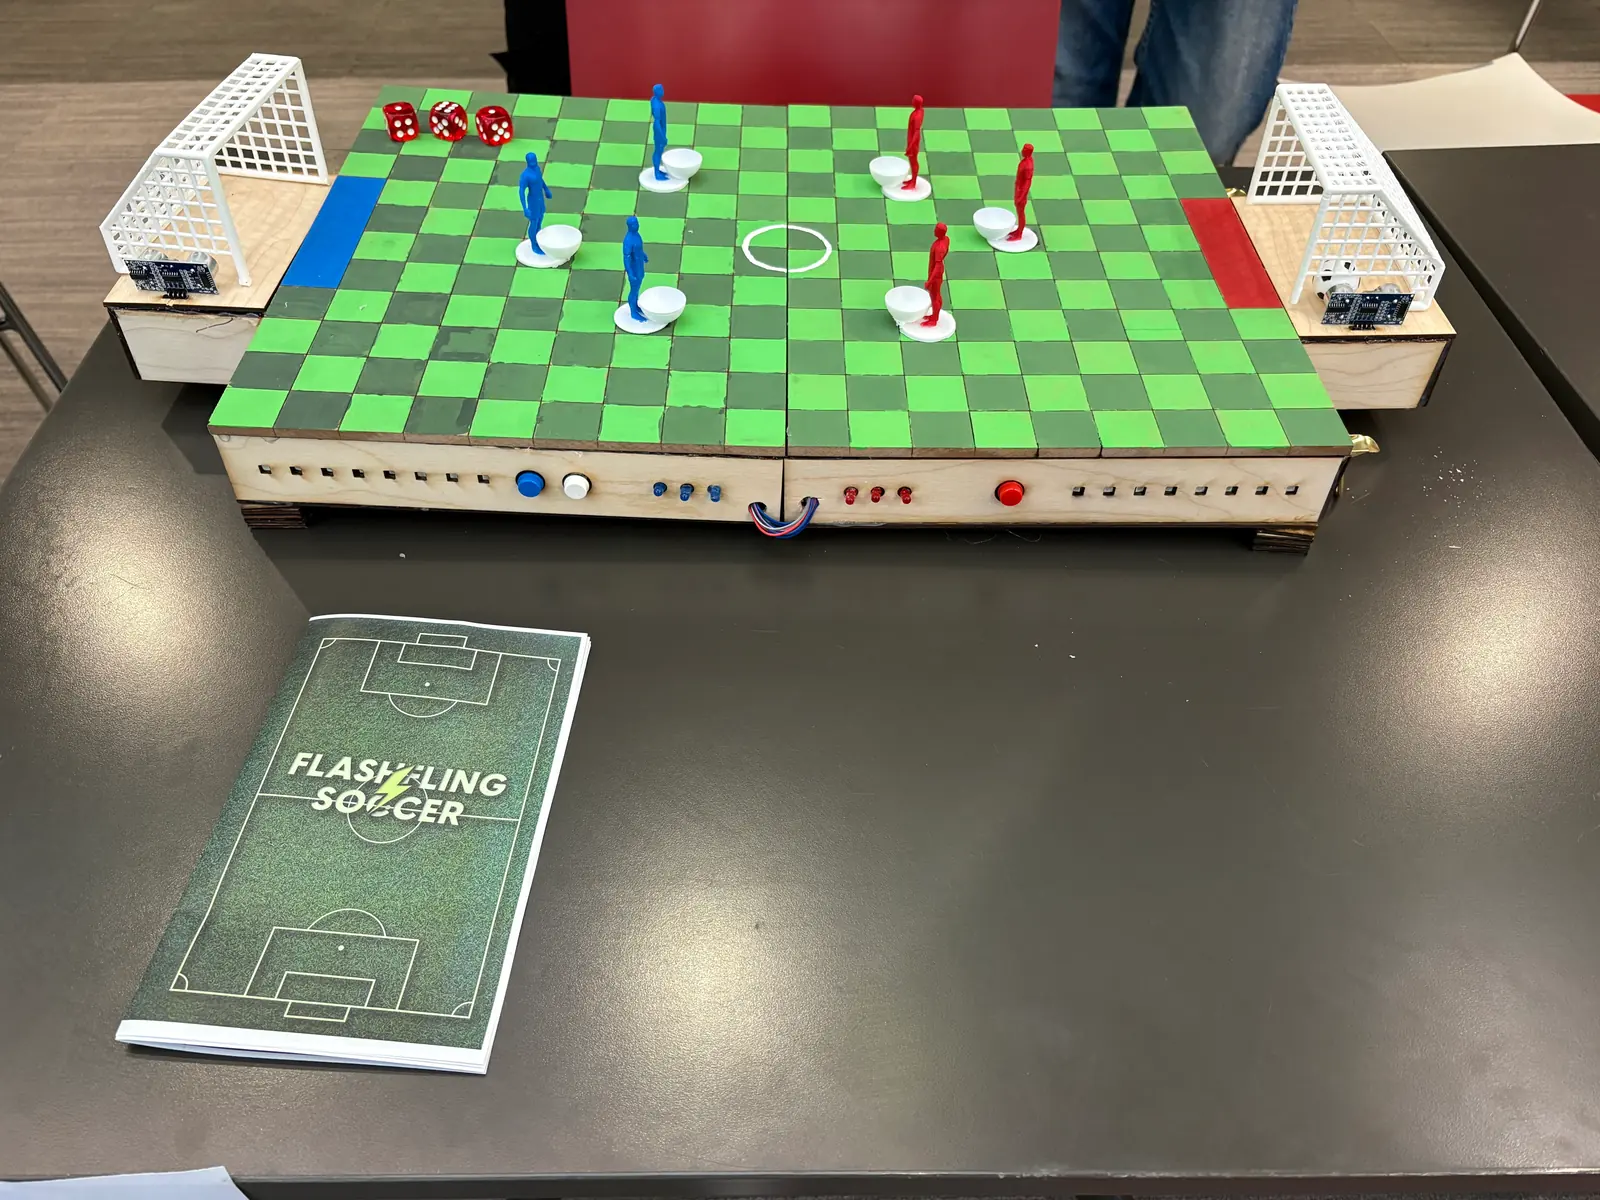
A tabletop soccer game built for a client: distance-sensing goals, light-strip game clocks, a scoreboard, a speaker and gameplay buttons, all inside a laser-cut plywood box. Our team took it through 4 main iterations, and the client picked it as the best of the 16 games presented.
- My role
- Project manager. I led the code, the box design, the circuits and the game mechanics.
- Team
- 4 engineering students
- When
- Oct – Dec 2025
- Shown at
- Northeastern's Engineering EXPO
- Inside
- Microcontroller, ultrasonic distance sensors, LED strips, buttons, speaker, 3D-printed pieces
How it came together
-
Start with the client
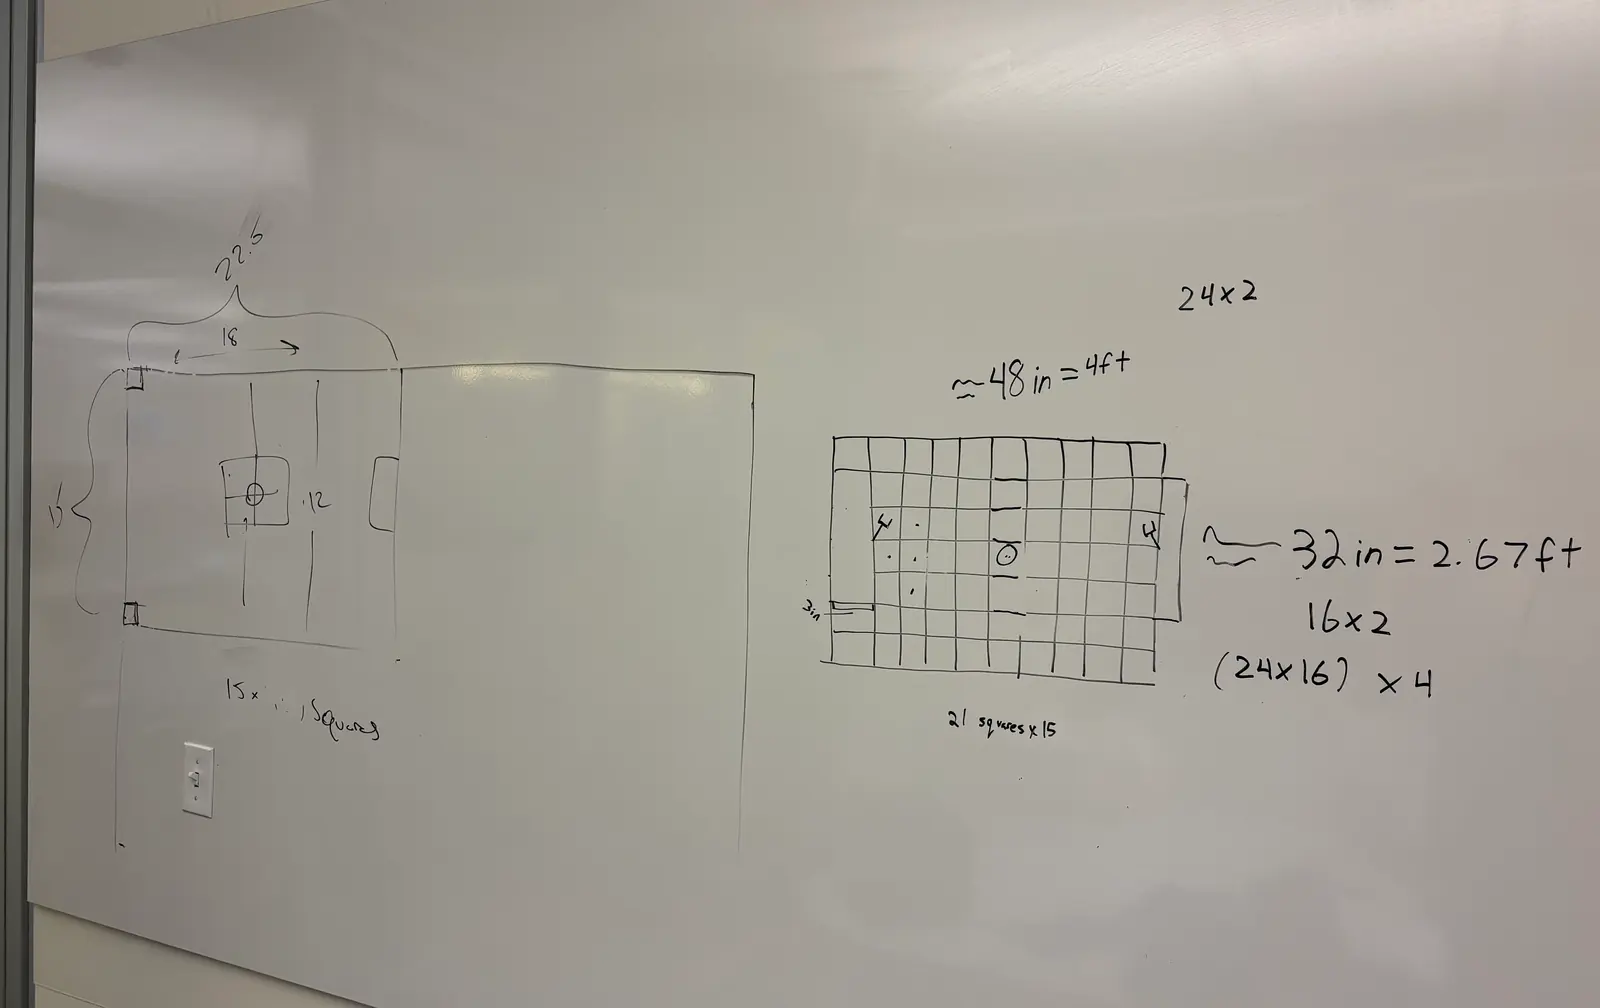
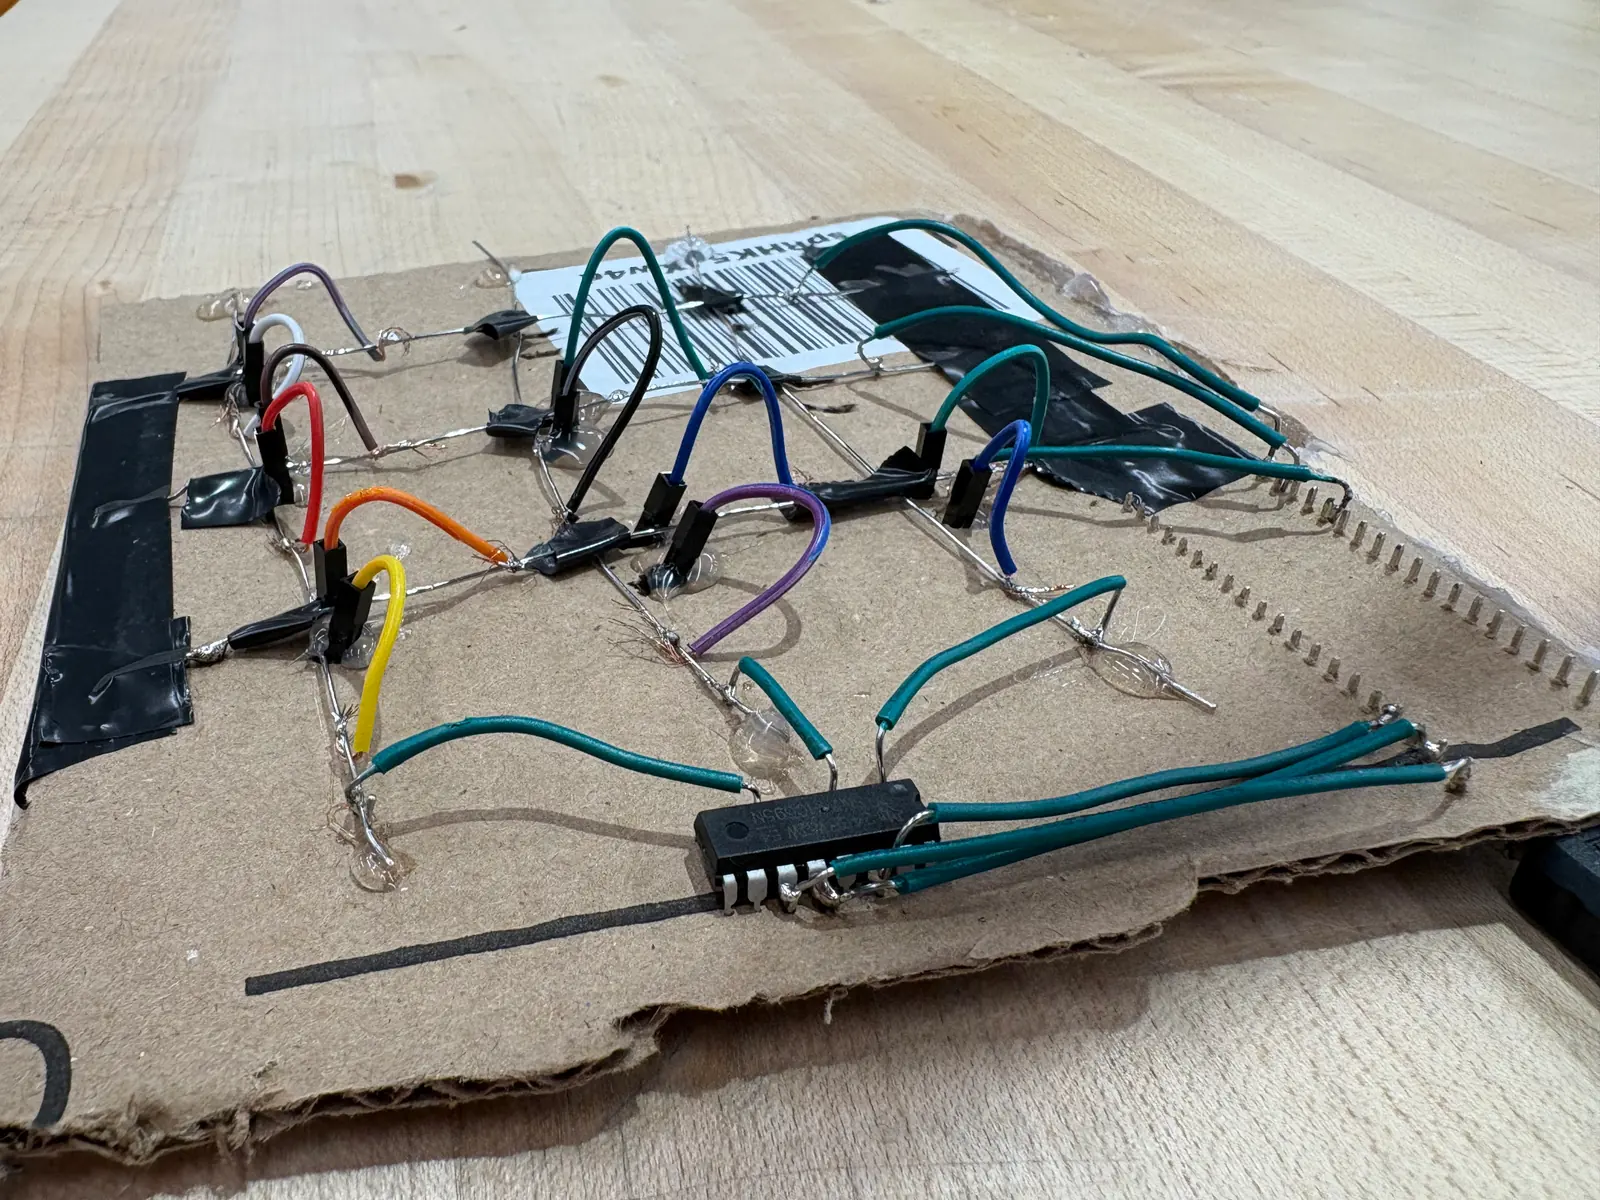
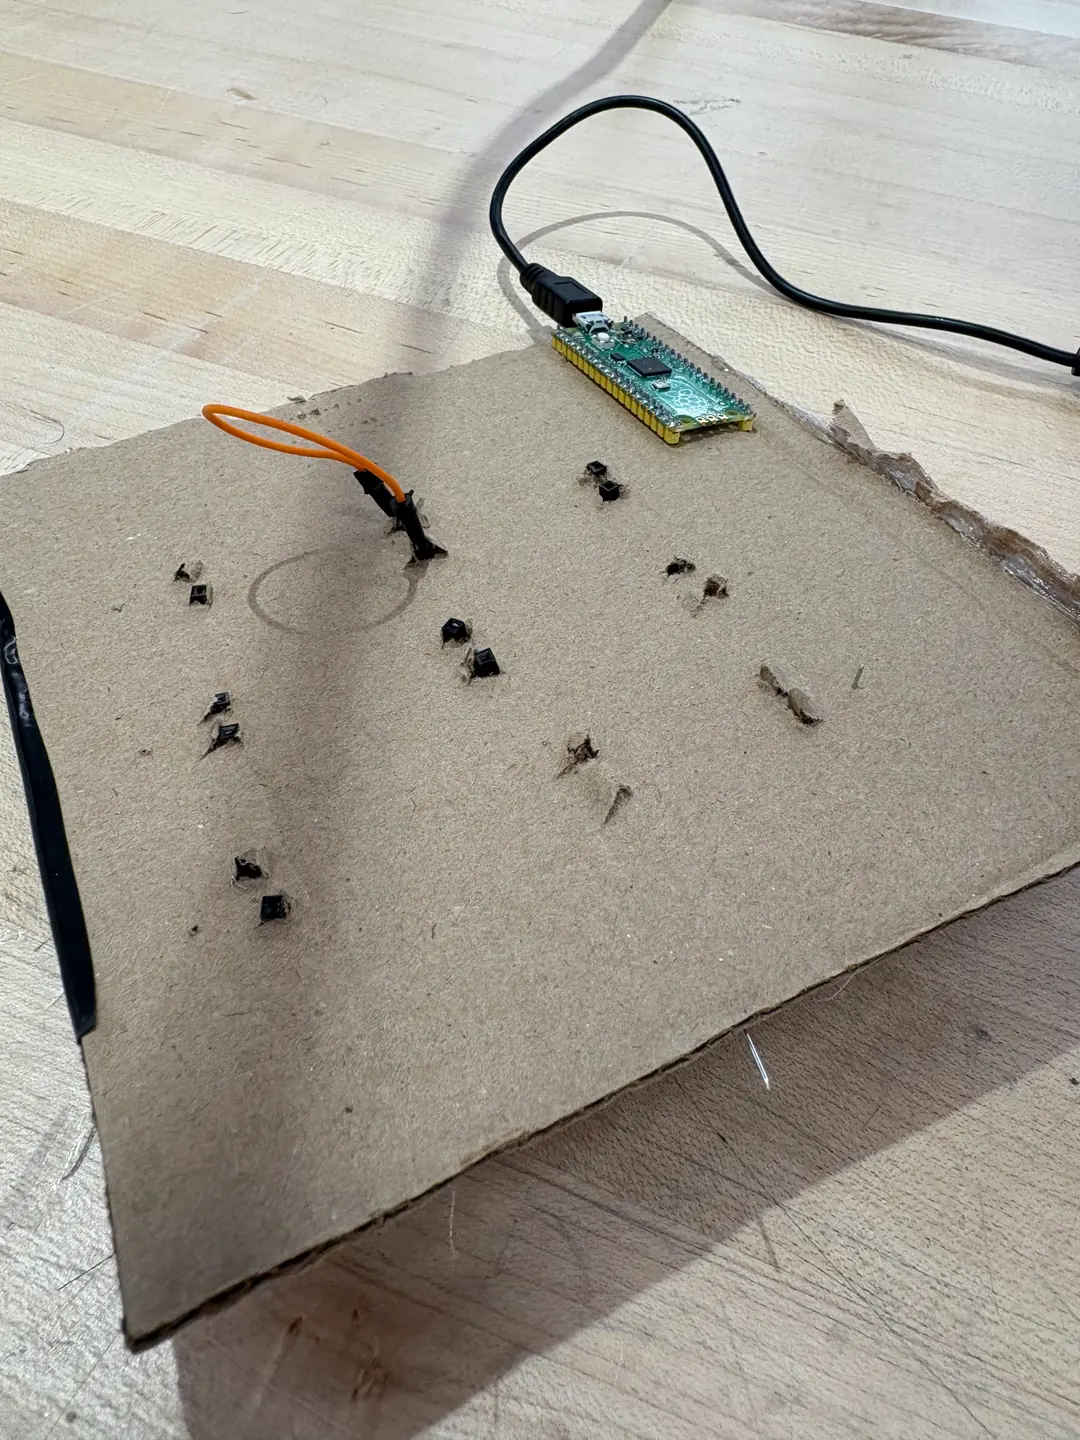
Consulted the client and brainstormed a first prototype, which used a keyboard matrix to detect player positions.
Scrapped: lots of material and time for very little gain.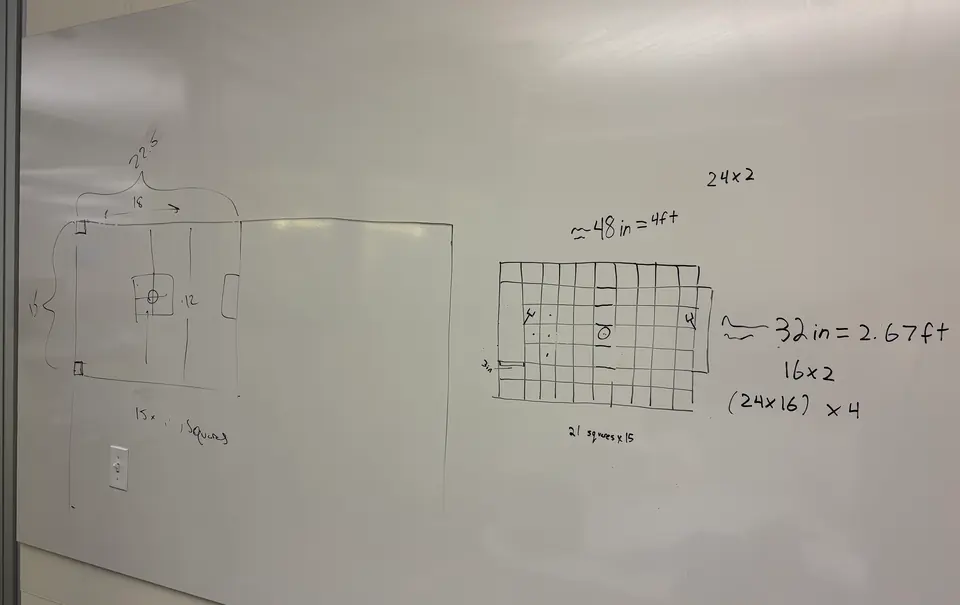
First brainstorm, Oct 2025. 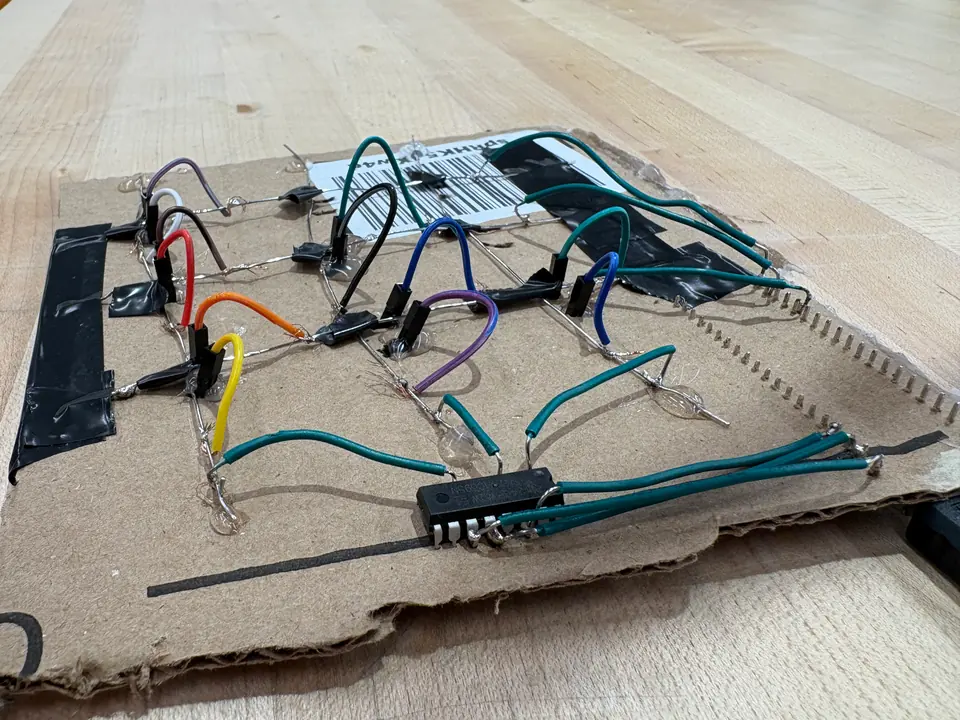
Keyboard-matrix prototype. 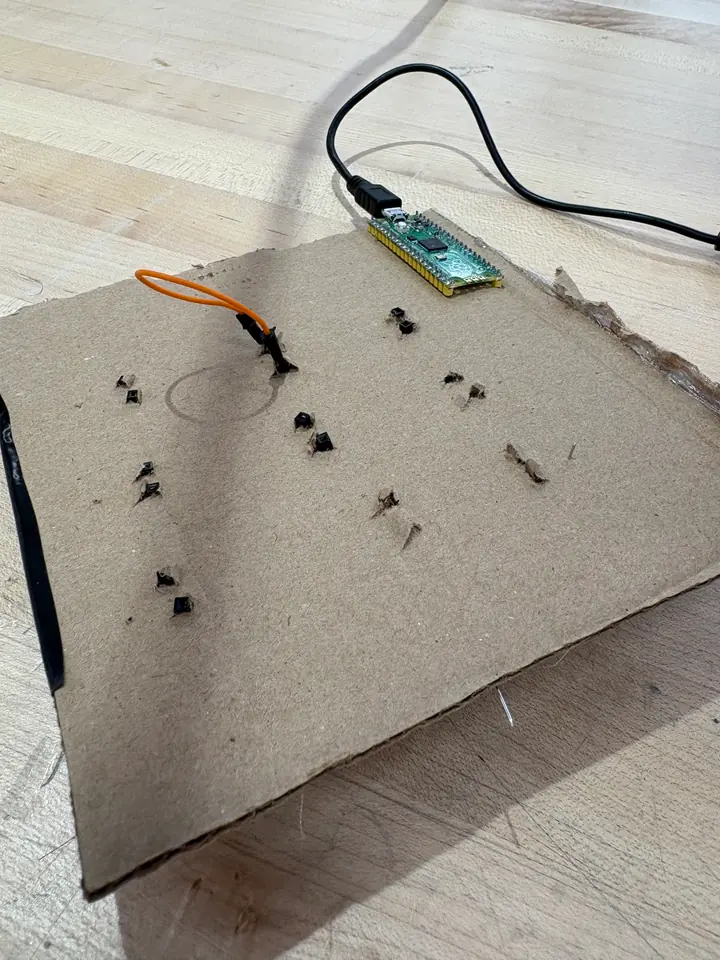
Where the matrix started. -
Wire it up
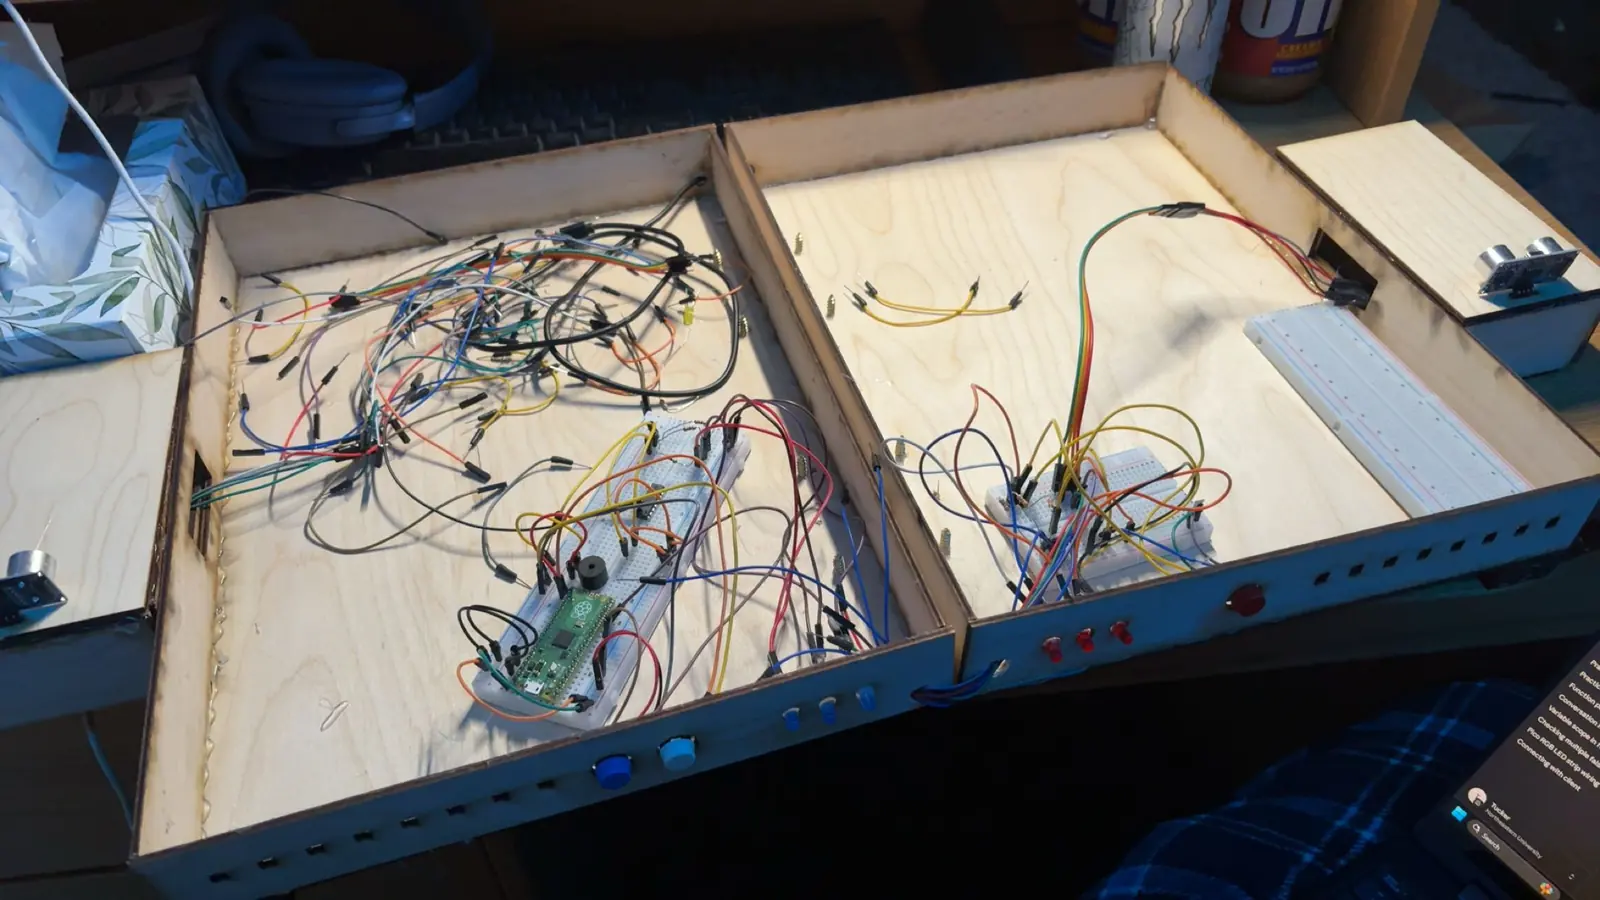
Assembled the circuit using soldering and breadboards to control the lights, buttons, speaker and distance sensors.
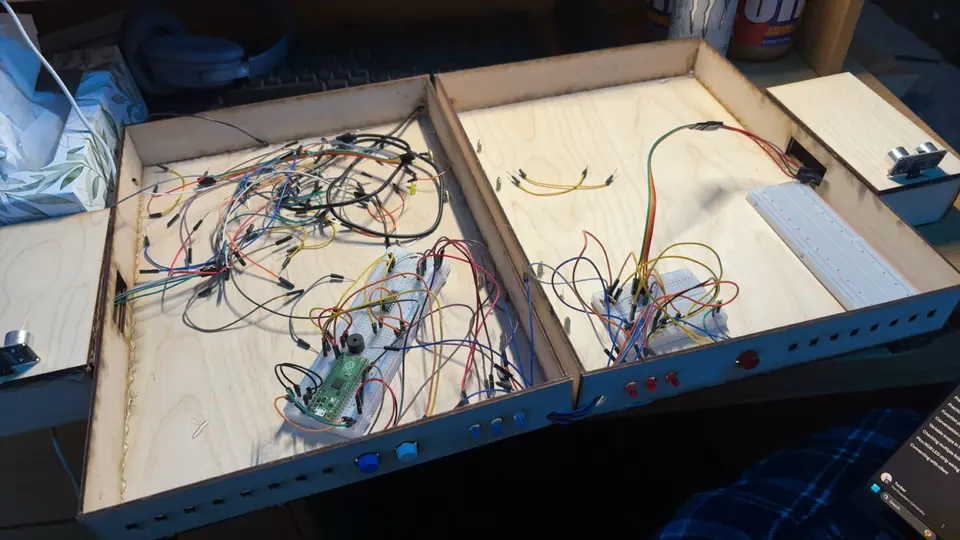
First full integration of the circuits into the board: distance-sensing goals, time-clock light strips, a scoreboard, speaker and gameplay buttons, using a mix of soldering and breadboards. -
Design the box
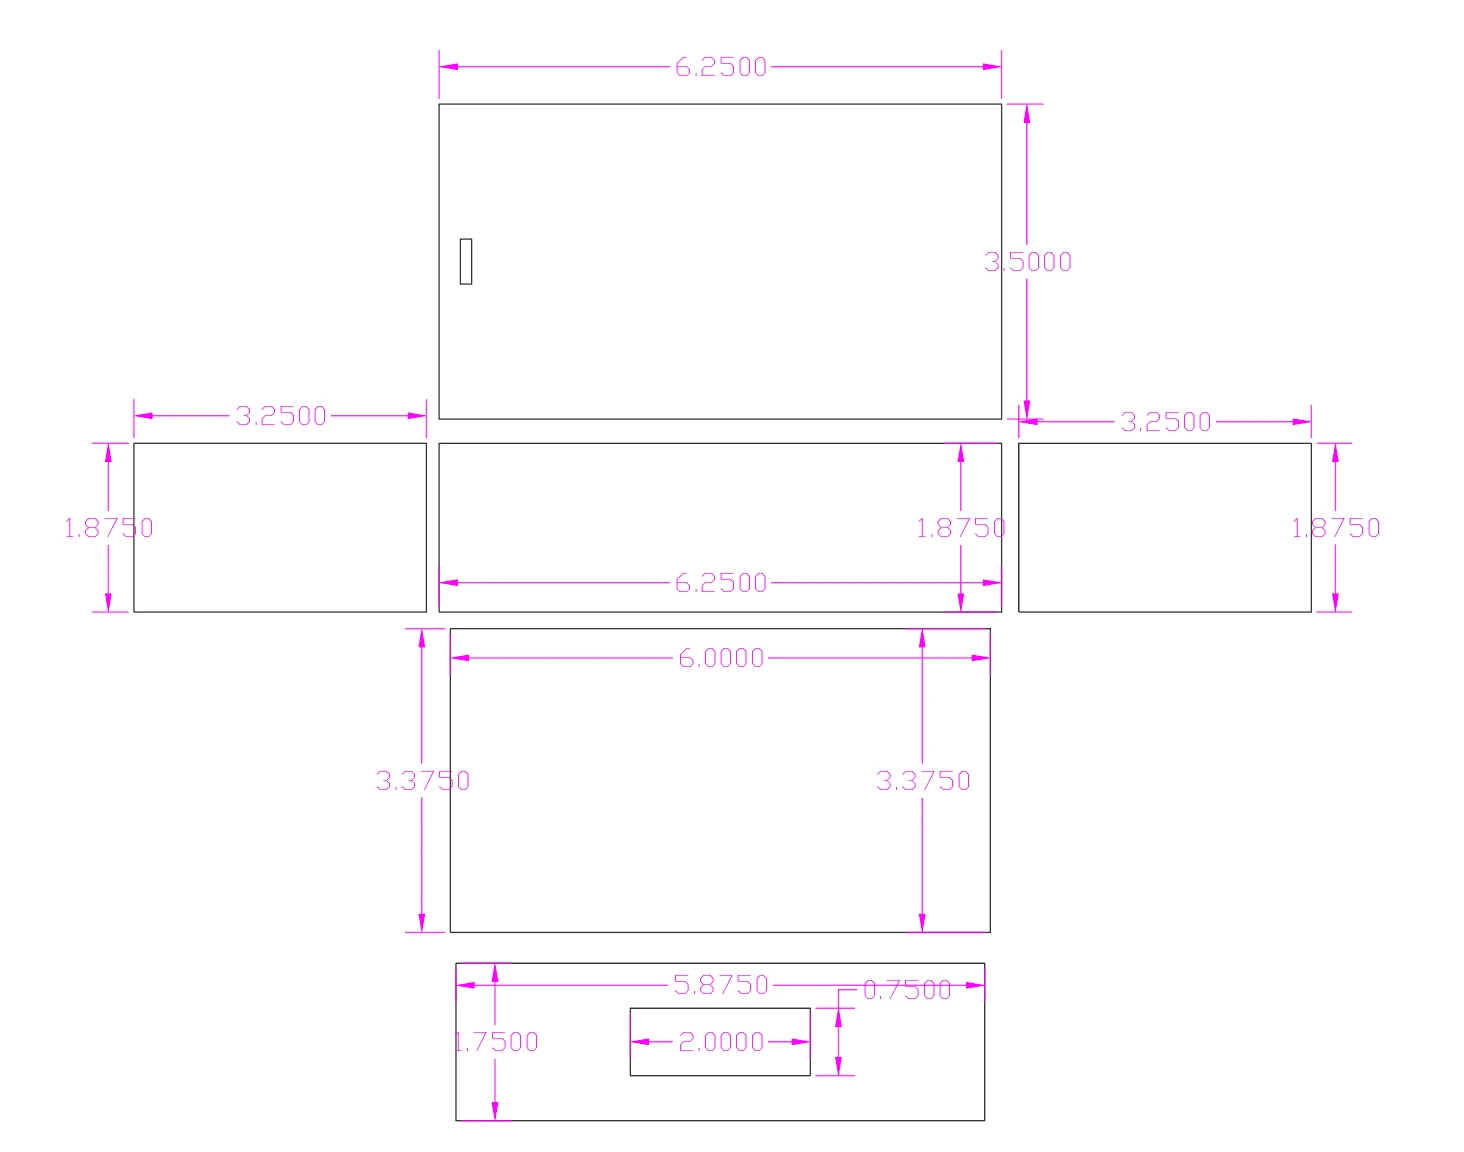
Designed a board box in AutoCAD to fit the circuitry and display the side-board components, then laser cut it out of plywood.
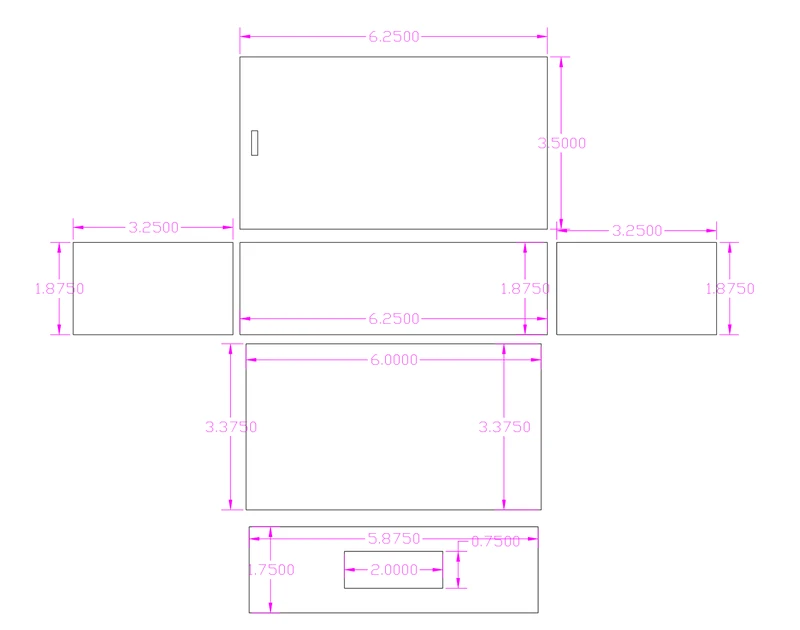
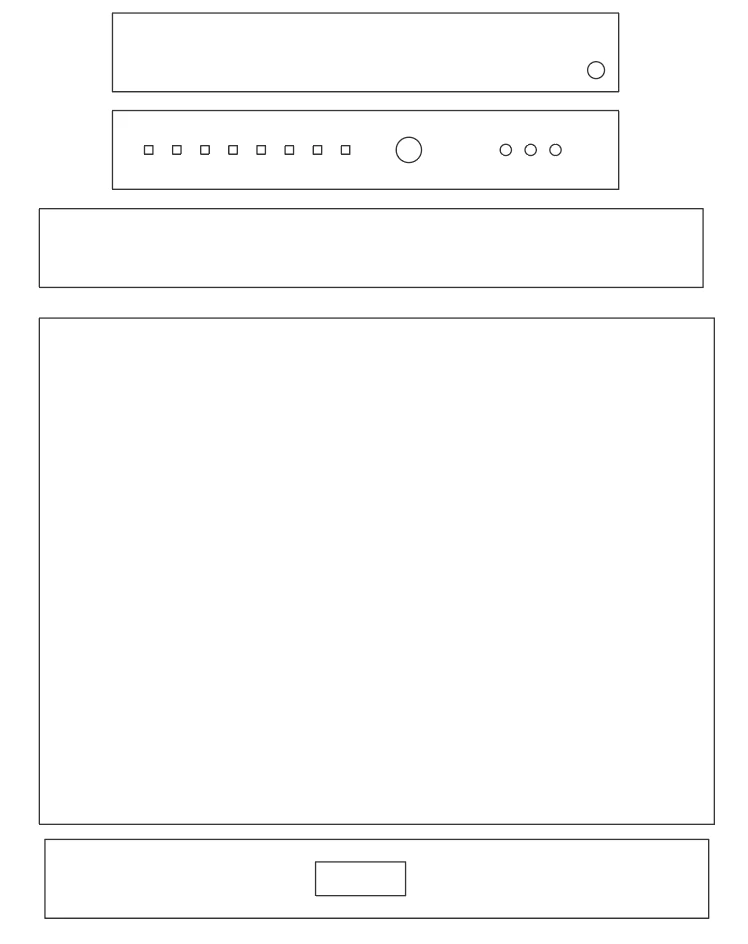
The final AutoCAD drawings used to laser cut the goal extension and the main box structure.
-
Program the game
Programmed the full game flow along with the LED strips and distance-sensor functions, resulting in a refined final product ready for presentation.
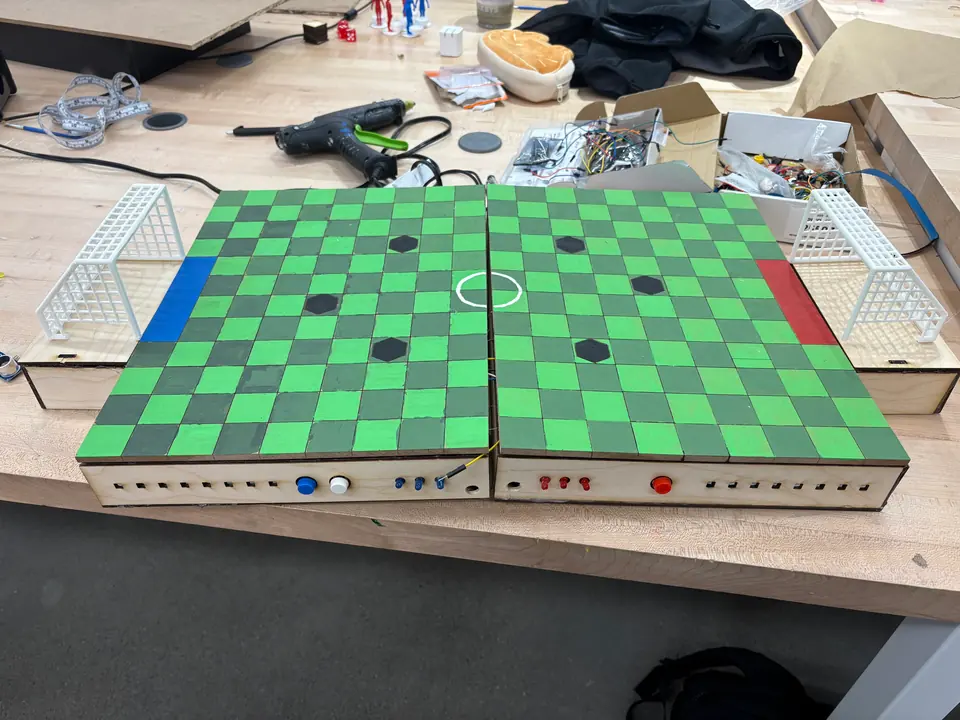
Assembled the night before the EXPO.